A successful YouTube channel is about more than quality content (although that certainly helps). Brands perform best on YouTube when they set up their YouTube channel for maximum discovery and engagement.
After all, you want people to easily find your content. Once they find it, you want them to stick around and engage. The right setup makes that possible. Follow these eight steps to build a YouTube channel that attracts audiences and invites interaction.
Step 1: Activate Brand Account to Set Up a YouTube Channel Your Team Can Manage
Although you can create a YouTube channel connected to any Google email, it’s smart to create a brand account. A brand account lets you give other people in your business access and manage your YouTube channel without signing in to your personal email.
To activate a brand account, start by signing into YouTube with your Gmail account or custom Google domain. Then follow these steps:
- Scroll to the bottom of the page and select “settings”
- Select “add or manage your channel(s)”
- Click “+create a channel”
- Enter a name and Handle for your brand account
- Click “create channel”
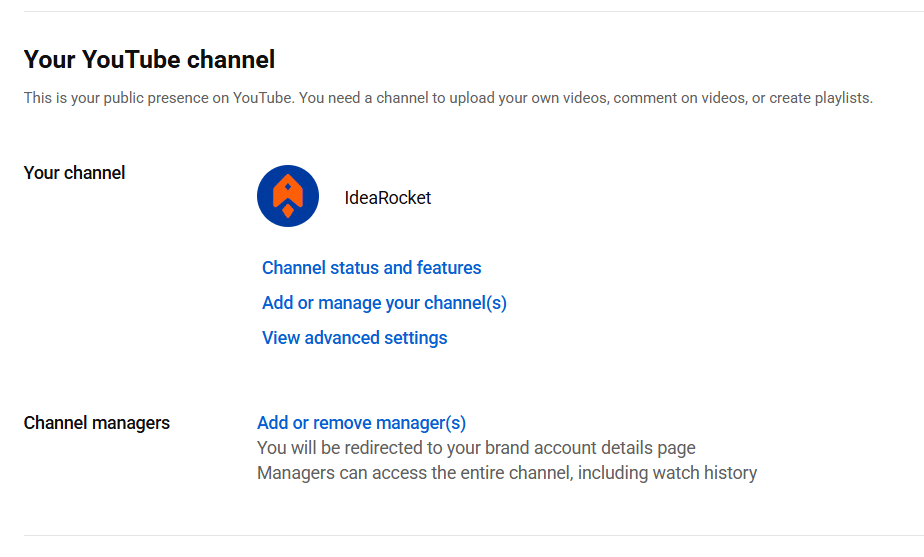
This might take a few minutes to process, but once it’s done, you should see a Channel Managers section under the Your YouTube Channel heading. From here you can Add or remove manager(s)
Step 2: Upload a Profile Picture and Banner Image That Matches Your Branding
Your brand home page includes spaces for a profile picture and banner image. Technically, you can set up a YouTube channel without these, but we don’t recommend it. Attractive graphics help draw people in and properly brand your page.
According to guidelines published by Google, your banner should have an aspect ratio of 16:9 and be no smaller than 2560×1440 px. Within that, there is a “safe” area that should contain any logos or essential text you want to make sure displays well on all devices. The safe areas is 1546×423 pixels in the center of your banner.
Create something that aligns with your branding guidelines and clearly shows viewers what you do. You want viewers to be sure at a glance that they’ve found the right channel. If you use text, make sure it’s short and easy to read whether the image is on a small phone or big-screen TV.
Your profile picture should be 800 x 800 px. We recommend using your logo or another image that visitors will easily associate with your brand.
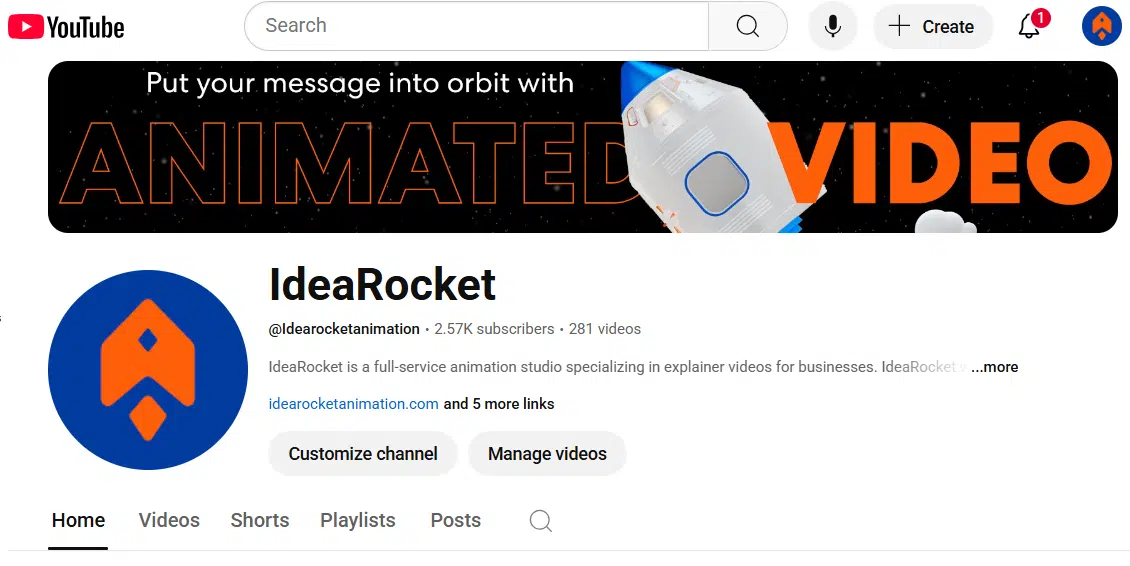
Below, you can see the banner and profile picture we’ve chosen for our YouTube channel. The profile picture is our logo and the banner matches the styling of our website.
Step 3: Craft a Description of Your YouTube Channel
Your channel description appears below your banner image. Draft something short and clear that describes your brand and invites viewers to engage.
YouTube gives you up to 1,000 characters to make your point, but keep in mind that only the first line will show up unless visitors click the read more link. So pack the important stuff into the first 90 characters or so.
The best YouTube channel descriptions include keywords that their ideal viewers are likely to search for. Remember that YouTube is basically a giant video search engine. In fact, it’s the second-most popular search engine in the world. SEO focus is just as important here as it is in your web content.
Step 4: Add Links to Your Website and Social Profiles
YouTube gives you the opportunity to share your links in your profile. Take them up on this offer. Sharing links makes it easier for users to follow you on social media and access important information on your website.
You can choose up to 15 links that point to anything on the web. Consider linking to your:
- Website
- Social media platforms
- Special landing pages
- Partner sites or pages
Step 5: Add a Custom Trailer That Promotes Your Brand
Every YouTube channel includes a featured video at the top of the page. This is known as the trailer. Some channels use this to feature a popular video. Others treat it more like a movie trailer, giving viewers a glimpse of what they’ll experience if they explore your channel.
Your trailer is a great place to showcase an explainer video or you can create a custom highlight reel especially for YouTube.
This is also your first chance to ask viewers to like and subscribe. You can include the request in the script, on-screen or both.
Keep in mind that your trailer can (and should!) change over time. For example, the video below from the GoPro YouTube channel takes the trailer spot to announce a new product. You can use it in the same way, tease a new video series, or feature a recent event.
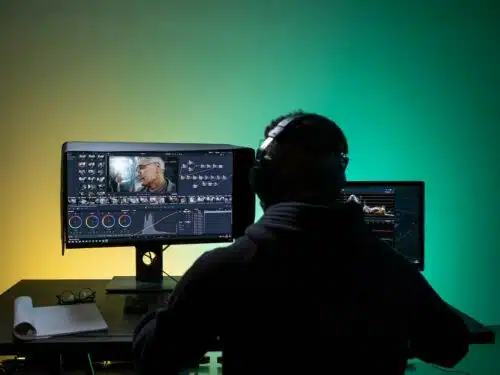
Step 6: Create and Upload Quality Video
Videos are the most important part of setting up a YouTube channel. YouTube is trending more and more toward cinematic, higher quality content.
With video technology so readily available, viewers expect a certain quality standard. They have plenty of options too. More than 500 hours of content are uploaded to YouTube every minute.
Catch and keep user attention with high quality video that tells a story. To maximize discoverability and user experience make sure that for each video you:
- SEO optimize video titles and descriptions
- Choose relevant tags
- Select a custom thumbnail
- Upload subtitles and captions
- Add end-screens with calls-to-action.
End screens are overlays added to the end of any YouTube video. You do this after upload to promote other videos, ask viewers to subscribe, or feature a playlist.
Pro Tip: Use a consistent thumbnail style from the very beginning. That way, your grid will look attractive and cohesive as you build your library.
Step 7: Encourage Engagement By Being Responsive
To start, consider channel-building through an SEO lens. Research the topics and keywords that viewers are wondering about then create content to answer their questions. You can use free tools like Google Keyword Planner, or paid options like Semrush.
You can specifically ask for likes, follows, shares and comments in videos created specifically for YouTube. If you’re cross-posting videos, include these requests in the description.
Remember to regularly check the comments. Viewers may ask questions or provide feedback that sparks ideas for new content.
As with any social media platform, responding to comments makes people more likely to engage. It’s a small investment that can make a big difference to channel growth over time.
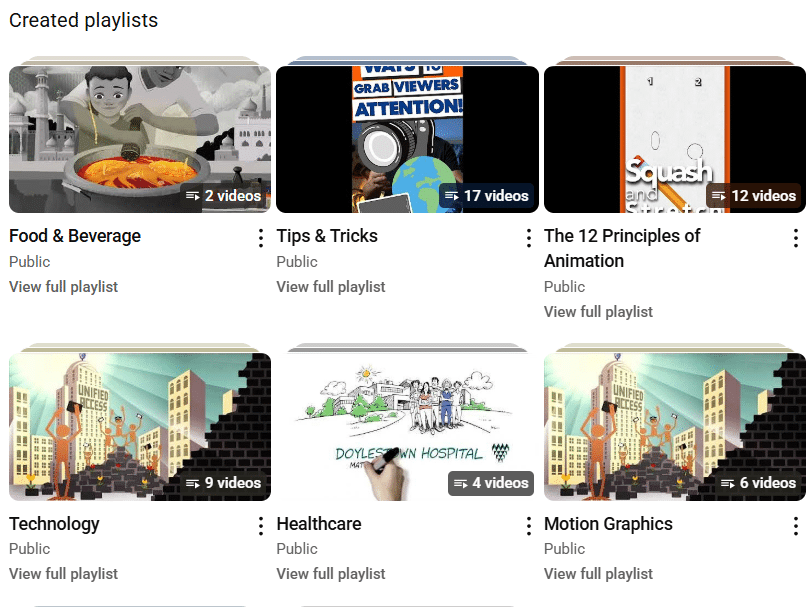
Step 8: Build Playlists To Make Navigation Easy
Once you’ve shared a few videos on your channel, you can start making playlists. Playlists organize your content into groups so viewers can more easily find what they’re looking for.
On the IdeaRocket YouTube channel, we have playlists for Social Media Tips, The 12 Principles of Animation, and various client types like Healthcare or Technology.
Over on the Salesforce channel, they have playlists for their various conferences and events. You might build a playlist for a particular product, video series, or customer profile.
Setting Up a YouTube Channel? Prepare for Consistency
Consistent posting helps your video grow more quickly. Users will get used to seeing new content from you. They’re also more likely to engage if your channel looks active.
That’s why it’s smart to have at least a few videos ready to share before you set up a YouTube channel. Preparing between three and eight videos ahead of time means your channel will look active from the very beginning. Plus, this will take off some of the pressure of needing to create new content quickly.
The video experts at IdeaRocket can help you create quality brand video in 2d, 3d, whiteboard, mixed media, motion graphics or live action. Contact us to get started.