Sound recording on location is one of the most important factors when creating a professional animated or live-action video. Capturing quality sound on location, though, comes with a handful of risks that you don’t typically get when inside a quiet recording studio.
Producing great sound means understanding your location, and having the right tools to cut through the unwanted noise. We asked IdeaRocket sound designer Jared Paul to share some of his tips for making sure you get the best sound while shooting on location:
1. Choose The Right Location
As we’ve written about before, sound should be a primary factor when considering where you want to shoot your video. It’s always preferable to have a location be as quiet as possible, but that’s easier said than done. As you survey different areas, pay attention to natural sound. How loud is passing traffic? Is there construction nearby, or at different times of day? How windy will it be the day of the shoot? If you’re indoors, what natural sound can you eliminate?
“Pay attention to the sound of the location where you’re recording, and do whatever you can to reduce the noise on set,” Paul said. “This is always preferable to ‘let’s fix it in post!’ “Choose locations not next to highways or airports, close windows, turn off fridges, avoid creaky floorboards, etc.”
When the location is less than ideal, hanging sound blankets from stands can help mute outside noise and make the location audio sound less live.
2. Find The Right Microphone
To capture sound on location, you’re going to need to have the right tools. Depending on your shoot, you may need to have several different microphones on hand to capture the right types of sounds you’ll need.
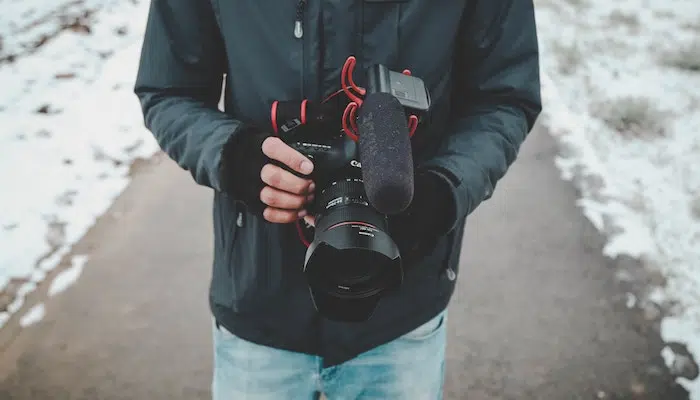
Shotgun microphones
“For most scenarios, a highly-directional, highly-sensitive condenser mic (also known as a “shotgun mic”) is the most versatile choice,” Paul said. “These mics are able to pick up speech and other sources with great clarity and reject unwanted ambient noise to the sides of the mic.”
Ambient sound has its advantages (we’ll get to that later). However, when setting up your microphone, you want to ensure you’re not recording too much background noise. If too much is going on in the background, it could overwhelm the voice you’re trying to capture.
“Position your shotgun mic so that any noise sources you can’t control are 90 degrees to the side of the mic — this is where it rejects the most ambient sound,” Paul said.
Lavalier microphones
Lavalier microphones are smaller devices that are typically used to for short-range audio, which makes them perfect for capturing interview sound, or for recording dialogue. These mics are typically clipped directly to an actor or interviewee, so they can pick up vocals that are louder and clearer than any background noise.
“For a sit-down interview, you can use a wired lav, but in most other scenarios you’d use a wireless lavalier,” Paul said. “A Sennheiser G3 series is a very popular entry-level choice.”
When recording spoken word, Paul recommends getting the microphone as close as you can to the individual you’re recording, without having the microphone in the frame.
“I wouldn’t recommend only using a lav, unless using a shotgun mic on a boom is impossible (like for a super wide shot),” Paul said. As a post-production mixer, I more often end up using the boom mic. It usually sounds more rich and natural than a lav. But sometimes the lav works better, for instance if the boom is too far away, or poorly placed.”
3. Record Ambient Sound
Sometimes, you may want to capture natural, ambient sound to add to your video in post-production, or added for effect. Natural sound can be particularly good for adding a bit of reality to animated video, too (check out some of our favorite examples here).
A good field recorder can help achieve this. You should also dedicate some time to shooting b-roll specifically to capture some natural background noise.
“Always record at least 30 seconds of room tone for each camera setup,” Paul said. “This means everyone on set has to be silent — meaning not chewing, texting, whispering or tiptoeing around. Your sound editor will thank you!”
“It’s always best to hire a dedicated professional sound mixer for your shoot,” Pauls said. “There are definitely one-person-band camera people who manage to get decent audio for simple shoots, but it’s always better to have someone whose undivided attention is 100 percent focused on the sound, who will bring years of experience and great sound equipment.”
4. Shoot Multiple Takes
Shoot several takes of each scene to ensure sound is covered from every angle. Shooting multiple takes also allows for more opportunities to edit out any unwanted background noise that may show up in the process, like if a car drives by, or there’s some unexpected wind pickup.
5. Adjust In Post: Sound Editing And Toolsets
Getting the right sound on set is only half the battle. The next step is post-production, which requires careful editing to make sure the audio is clean, and matched seamlessly with the video.
Sound editors have a great deal of control over the sound: they can adjust volumes, they can dampen or boost frequencies, and they can add reverb or echo, as well as other effects. However, there is much that is difficult or impossible to do, like filtering out noises that appear on a broad range of frequencies, or removing natural reverb.
When they are working, sound editors will typically ‘checkerboard’ their sound tracks. If there is a dialog between two people, they will put one person’s voice on one track and the other person’s voice on the other. They will also try to keep sound effects on their own set of tracks, and music on their own set of tracks. This is because final delivery usually includes final mix and three separate tracks: voice, sound effects, and music. This allows for other languages to be used, or music to be swapped out if there are copyright problems.
If you are looking to do post-production sound yourself, there are a handful of sound editing tools and software you can use to optimize your audio. These tools vary in price and sophistication, with a mix of free tools and professional suites — so be aware of your budget and needs when selecting the right service for you.
Conclusion
Capturing quality sound on location is a science, but with the right tools, it’s pretty simple. Once you’ve found the perfect place to shoot, make sure you have the right microphones for each setting, and shoot multiple takes to ensure you’re covering all your bases. That way, you can use all the audio you captured to create the right mix to match your video in editing, and create a perfect soundtrack for your professional video project.
Learn more about how IdeaRocket can help you get started.